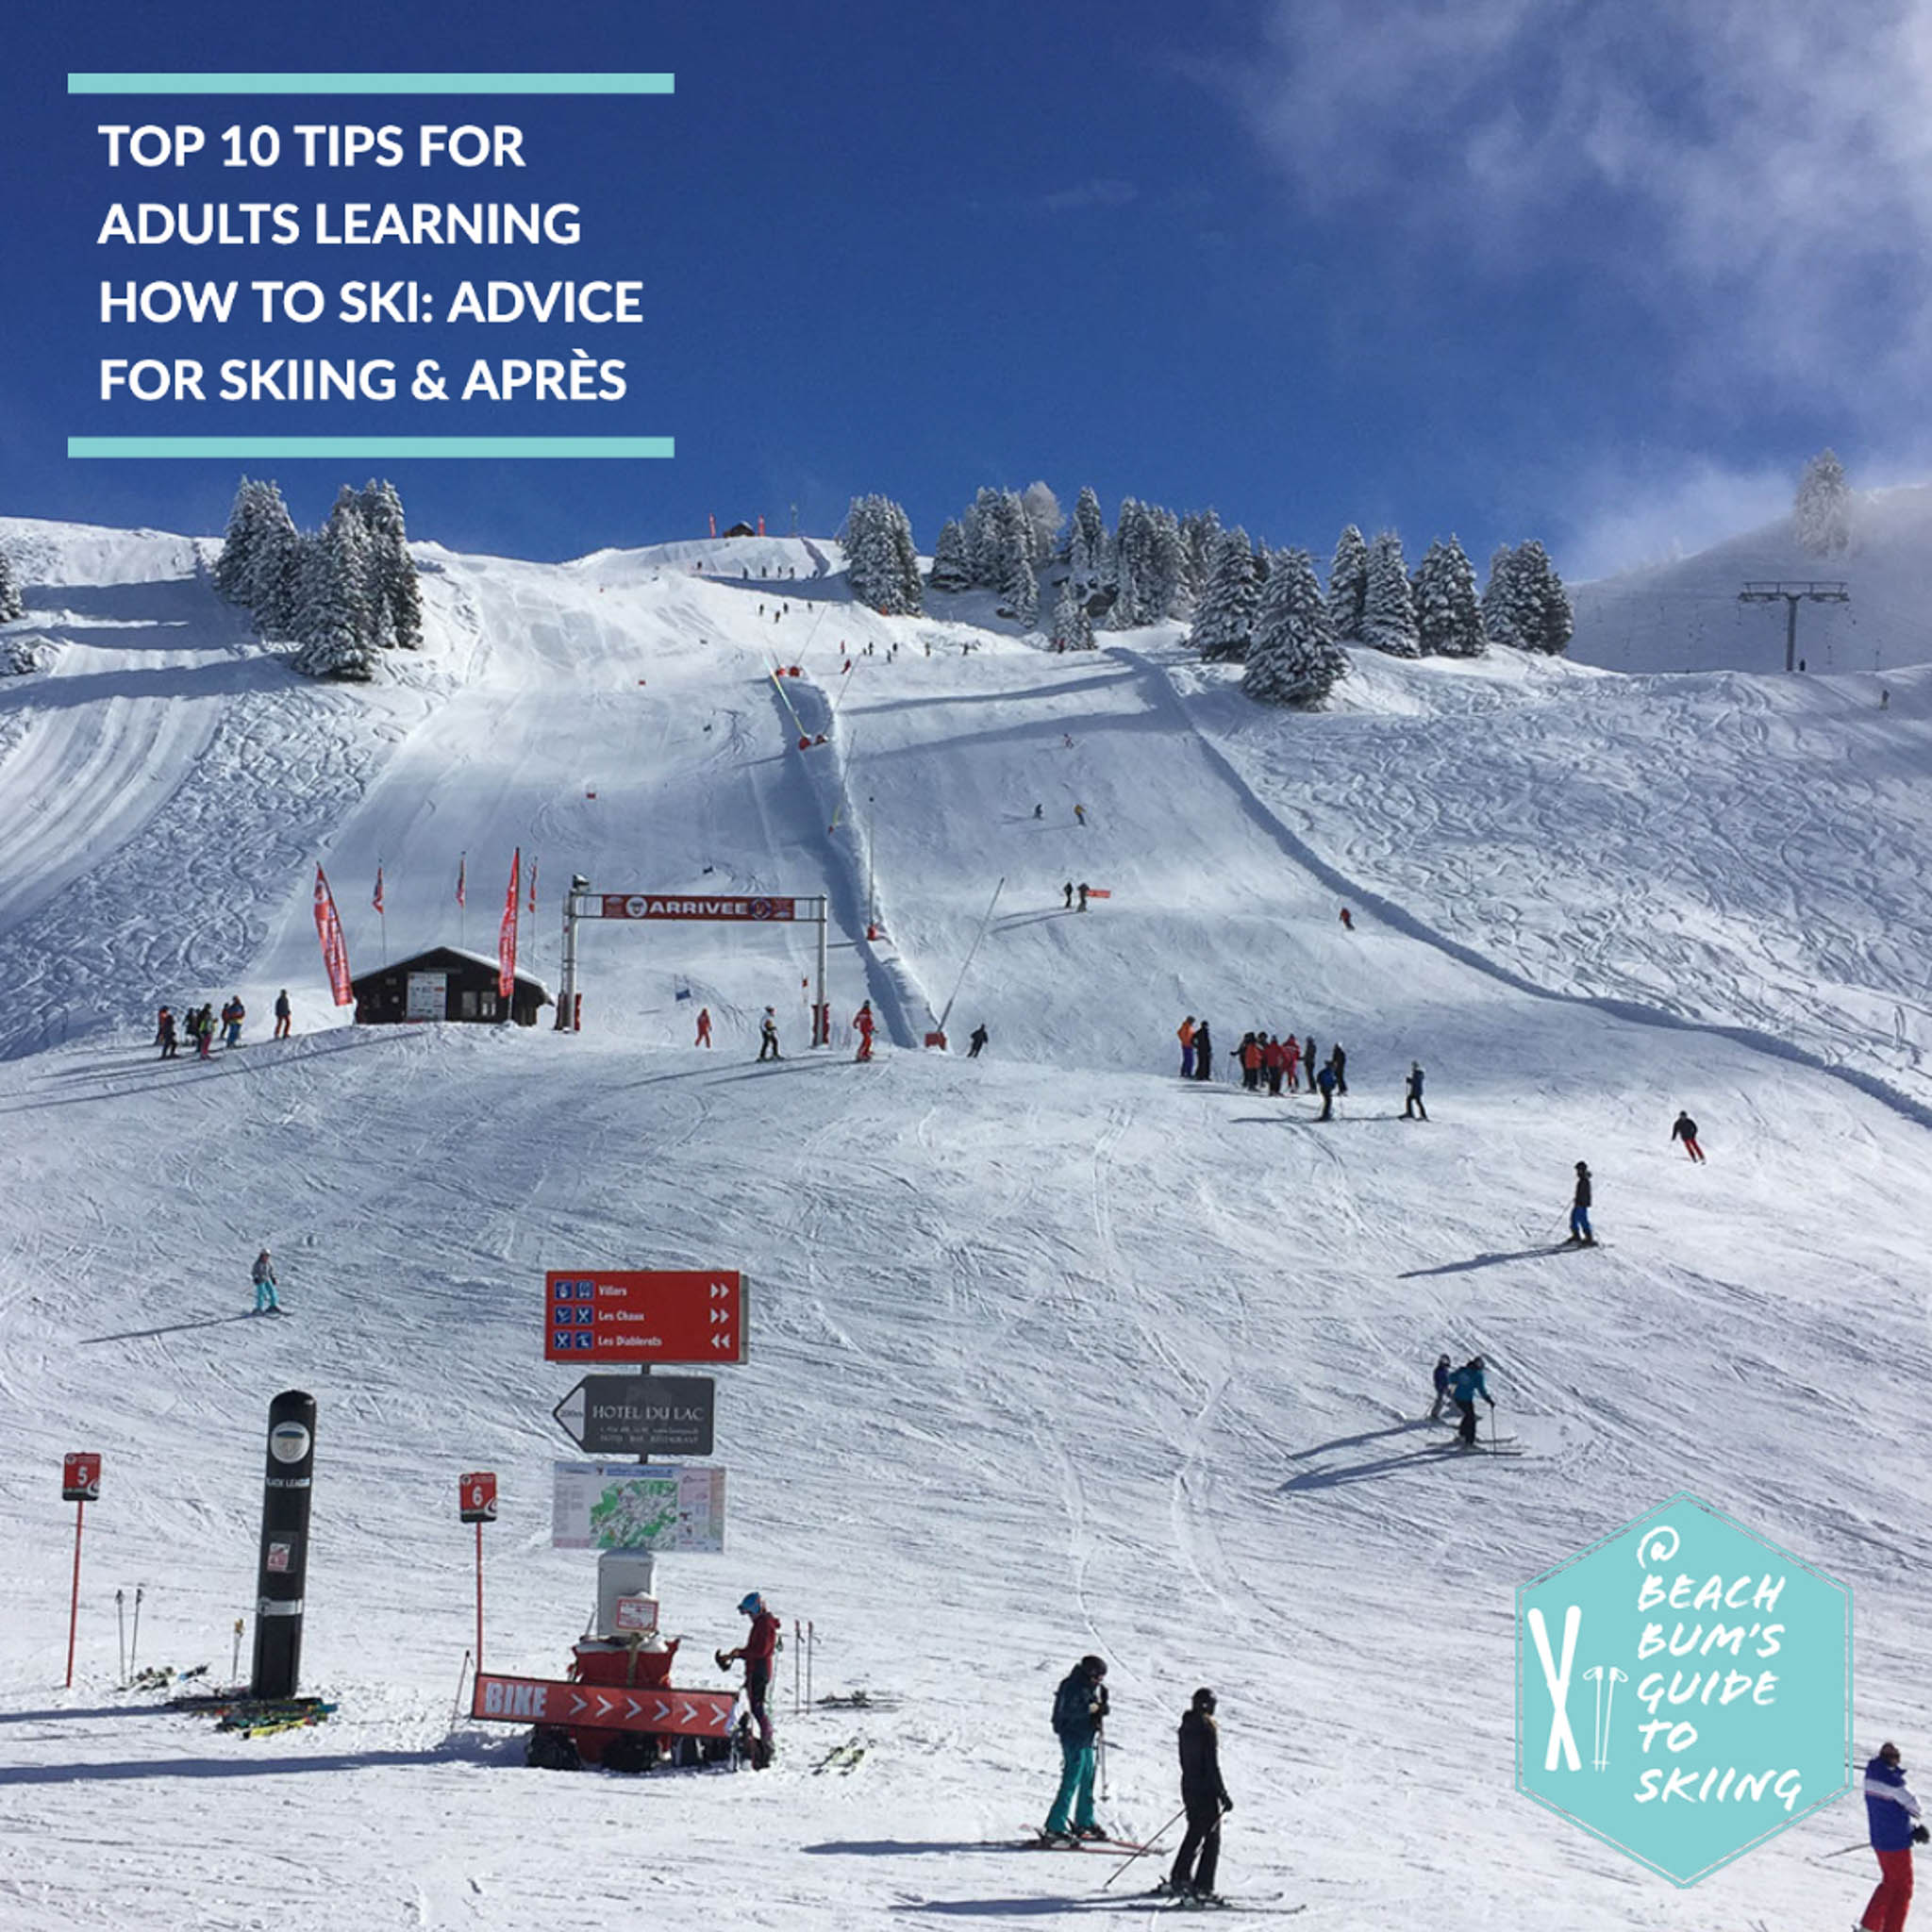
A BEACH BUM’S GUIDE TO SKIING
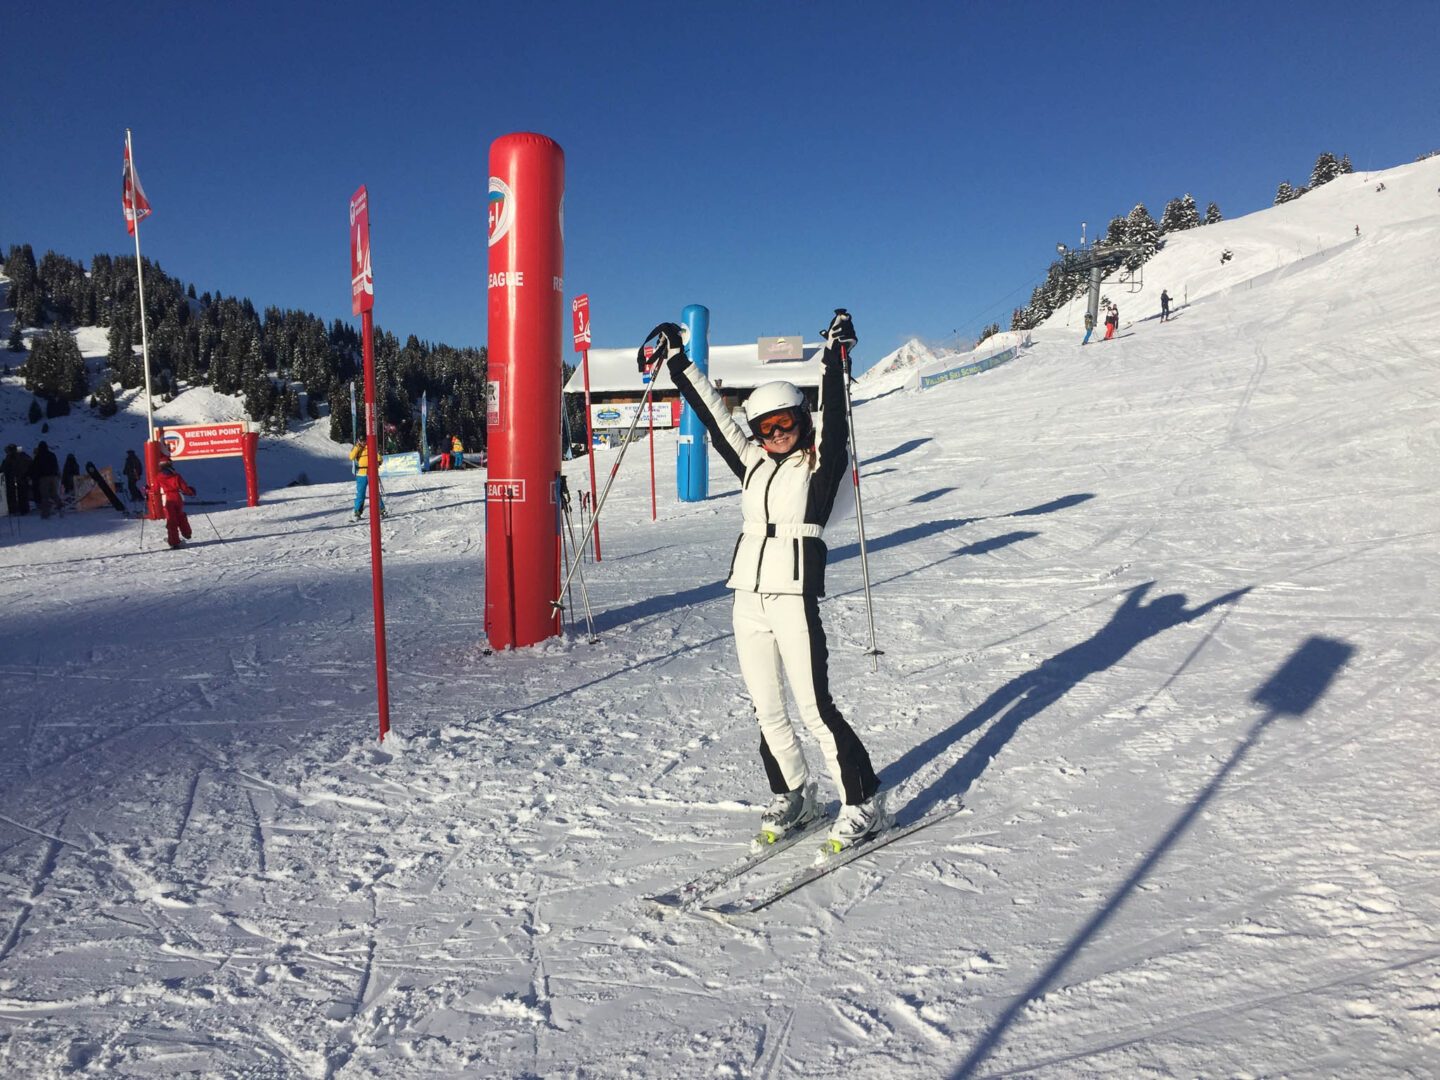
If you are reading this blogpost, you must be toying with the idea of learning how to ski. Or maybe you have already taken a few turns on the snow. That’s awesome! Having myself started to learn how to ski at the age of 30, I can say that it’s one of the best things I have ever done, even though it was challenging at times.
In this blog post, I gathered the distilled wisdom of all of us brave souls who decided to conquer the snow-capped mountains at an age where falling down is not second nature! Hopefully, it will give you a good idea of the pitfalls that led some people having bad experiences as beginner skiers and an even better idea on how to avoid them. I also aim to provide you with some clarity as to the practicalities of your first (few) ski trip(s) and suggest simple ways for making the most of your time on the slopes and après. Here are my top 10 tips for learning how to ski as an adult.
LEARNING HOW TO SKI TIPS: No 1. GO TO (SKI) SCHOOL & DO YOUR HOMEWORK
Tip No 1 is hardly a tip. I would call it the basis for learning how to ski.
Learning how to ski quickly, easily and correctly is a combination of two things:
- Getting an adequate number of lessons from a professional ski instructor.
- Practicing what you learnt from the lessons on suitable pistes / runs / trails, with your ski buddies or on your own.
YOU ARE GETTING LESSONS FROM A SKI INSTRUCTOR, RIGHT?
So, this is self-evident but, for the avoidance of doubt, here goes. Lessons from a professional ski instructor are absolutely necessary and don’t let anyone talk you out of it. Learning how to ski is not like learning to ride a bicycle. You need to be taught by a professional. This is so important that I have a whole blog post dedicated to why every beginner skier needs lessons from a professional ski instructor.
As a rule of thumb, if you are an absolute beginner, a week’s worth of classes is the absolute minimum in order to be able to turn and stop comfortably on easy pistes. I’d recommend taking more classes after that, but, at that point, you will be able to judge for yourself.
For a more in depth discussion about ski lesson selection and for details about beginner’s ski lessons for adults, head over to this post: ‘How to make the most of your ski lessons: 7 things to know‘.
ARE YOU SPENDING ENOUGH TIME ON THE SLOPES?
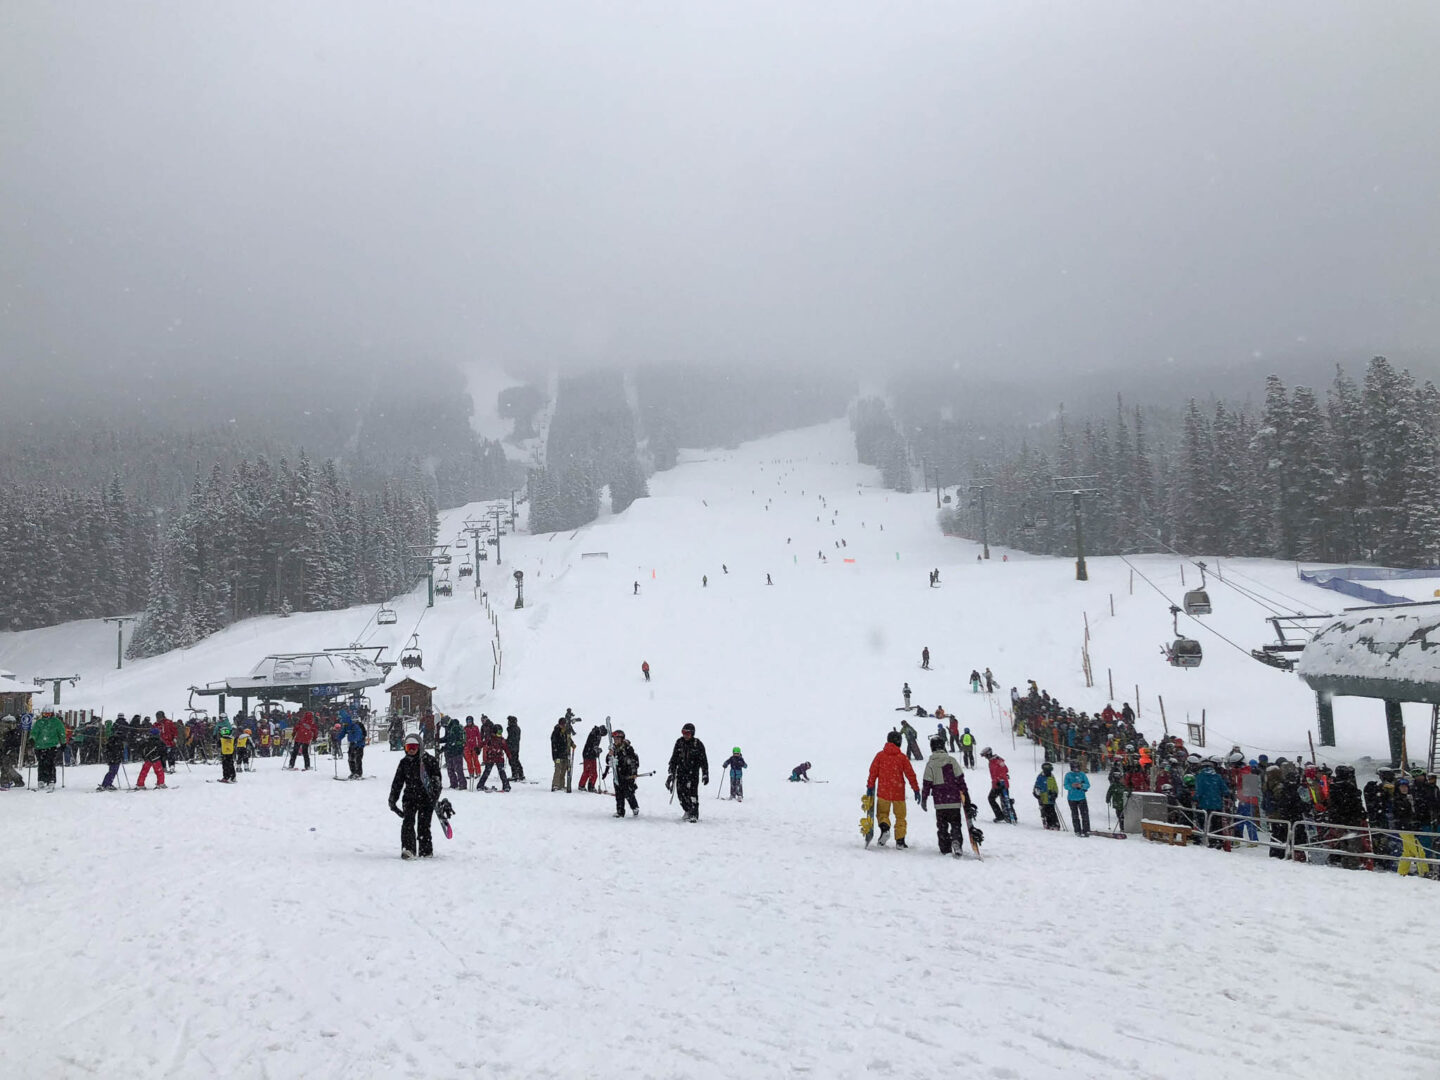
Not everyone’s ski trips are the same. There could be many reasons why you are not practicing enough. Maybe your group is happy with only spending two hours on the slopes. Maybe the hotel’s spa is too nice to resist. What if you are travelling with children? Or maybe there are too many things to do in the vicinity of the ski resort. The latter was definitely the case for me during my trip to Banff, Canada; the amount of sights and things to do there (apart from skiing) was incredible.
These are all valid reasons and, well, you are an adult, I can’t tell you what to do! Nevertheless, I’ll just say this. Spending a couple of hours before or after your lessons practicing what you have been taught is necessary for your progress.
While there is nothing wrong with taking things slow, if your progress is too slow, you may lose patience and call it quits. Like with everything in life, practice makes perfect.
That brings me to tip No 2.
LEARNING HOW TO SKI TIPS: No 2. SKI TOGETHER & ALONE
In addition to skiing lessons, the key to improving as a beginner skier is to practice with people you trust and who are better than you. If everyone in your group is busy, skiing solo could also work.
In my blog post about planning and prepping for your first ski trip, I talked extensively about choosing your ski buddies wisely. I even discuss couple’s ski trips there. It’s definitely worth checking out if you are currently planning a ski trip and trying to put together a group.
Nevertheless, what I do want to re-emphasise here is that it’s best practicing with people who are patient and considerate. They will also need to be keen on your advancement since they will have to make adjustments to their speed and routes, sometimes to the detriment of their own skiing fun. Needless to say, the better they are at skiing, the better help and advice they will be able to provide you on a practical level.
GROWING YOUR CONFIDENCE, ONE PISTE AT A TIME
Furthermore, keeping your ski buddies in the loop about your progress is very important. Don’t hesitate to discuss about your lessons and to let them know about any difficulties you are experiencing. The reason for the full disclosure? Those skiing with you should have a good idea of your level and capabilities. This way, they will not take you down a piste that is beyond your capabilities.
Going down a piste that is too hard can damage a beginner’s confidence significantly. Unfortunately, it is one of the most common stories I hear and one that I, myself experienced. Experienced skiers tend to forget how hard things can be for a beginner! For that reason, I’d recommend asking your ski instructor to suggest pistes for you to practice on rather than letting your ski buddies decide on their own, especially if they do not have good knowledge of the ski resort.
SKIING SOLO
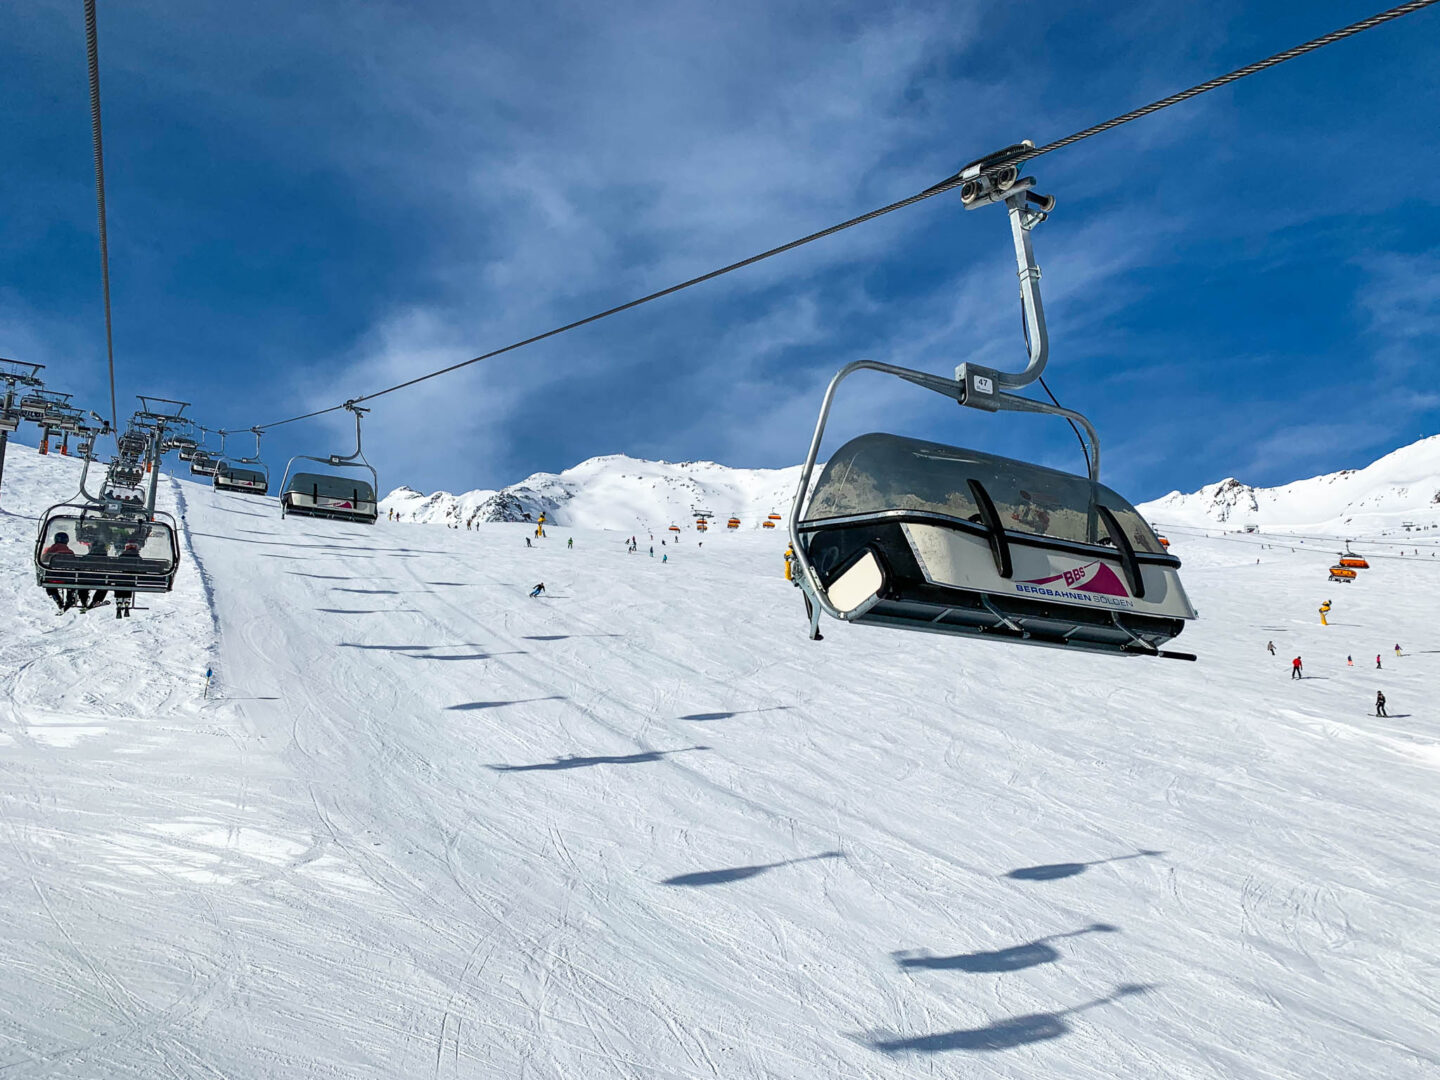
On the other hand, why not ski solo? Sounds scary? Start with pistes you are comfortable with and see how it goes from there. Alternatively, you could ease into it. Share the chairlift with your buddies to the top, ski separately and meet at the bottom.
Skiing solo allows you to concentrate on your technique rather than trying to keep up with the rest of your group. Even if you only stick with the super easy runs, it’s always worth spending time on the slopes.
LEARNING HOW TO SKI TIPS: No 3. LEARN TO ‘READ’ THE PISTES, WITH & WITHOUT THE MAP
Choosing which pistes to go down can make or break a day on the slopes. Sticking to the ones you are comfortable with will boost your confidence but may hinder your progress. On the flip side, going down a piste that is too hard for you is… the stuff of nightmares. As a principle, for your progress to be smooth and quick, you need to be picking pistes that are challenging but doable.
Here is how to do that.
A. CHECK THE PISTE MAP & RESORT SIGNS
Checking the piste map and the signage on the resort is the most obvious method of both wayfinding and assessing the level of difficulty for each run. Make sure you are familiar with the colour coding and symbols used to classify the pistes which may vary from country to country. Piste classification is done by assessing a combination of consistent factors, the most prevalent ones being steepness and width.
Nevertheless, a run can always get harder under adverse conditions, most notably when it is icy and / or visibility is low. Furthermore, there is a personal element to what makes a piste hard. For example, I find easier going down a steep but wide piste rather than a gentle but narrow one (even more so when there is a nasty cliff edge on the side!).
All in all, a piste map is a good start to exploring the ski resort but the information it provides is… basic. Especially when it comes to beginner skiers, it’s worth establishing piste difficulty via additional methods.
B. ASK YOUR SKI INSTRUCTOR
As I already mentioned in tip No 2, your ski instructor is the best source of information when it comes to piste difficulty. Not only will he / she know the ski resort better than anyone but they will also know your capabilities, probably better than you do.
In addition to suggestions for pistes suitable for your level, a good ski instructor will also give you tips about how to go about the difficult parts of the runs and warn you about the conditions of the snow if necessary.
C. CONSIDER THE WEATHER & PISTE CONDITIONS
Getting out of your comfort zone and slowly challenging yourself by increasing the level of difficulty is part of the learning process. So is skiing under less than ideal weather conditions. However, as with everything in life, it is best to tackle one challenge at a time. Finding yourself overwhelmed by a perfect storm of a difficult piste, icy conditions and low visibility does not make for a good skiing day.
To be honest, this perfect storm will happen at some point, and that is fine, we all lived to tell the tale. As with any outdoor activity, the weather can be a skier’s best friend or worst enemy. This is true for skiers of all levels but even more so for learners. Icy terrain and low visibility due to fog or snow can make even the easiest of runs harder.
However, just because sh&!t happens, doesn’t mean that we should go looking for them! Therefore, when conditions at the ski resort seem far from ideal, the following simple steps might save you and your ski buddies from potential ‘get me a helicopter’ moments (true story):
- Check the local weather report.
- Brows the resort’s website or app for comments relating to ski conditions.
- Pay attention to any signs posted near the chairlifts.
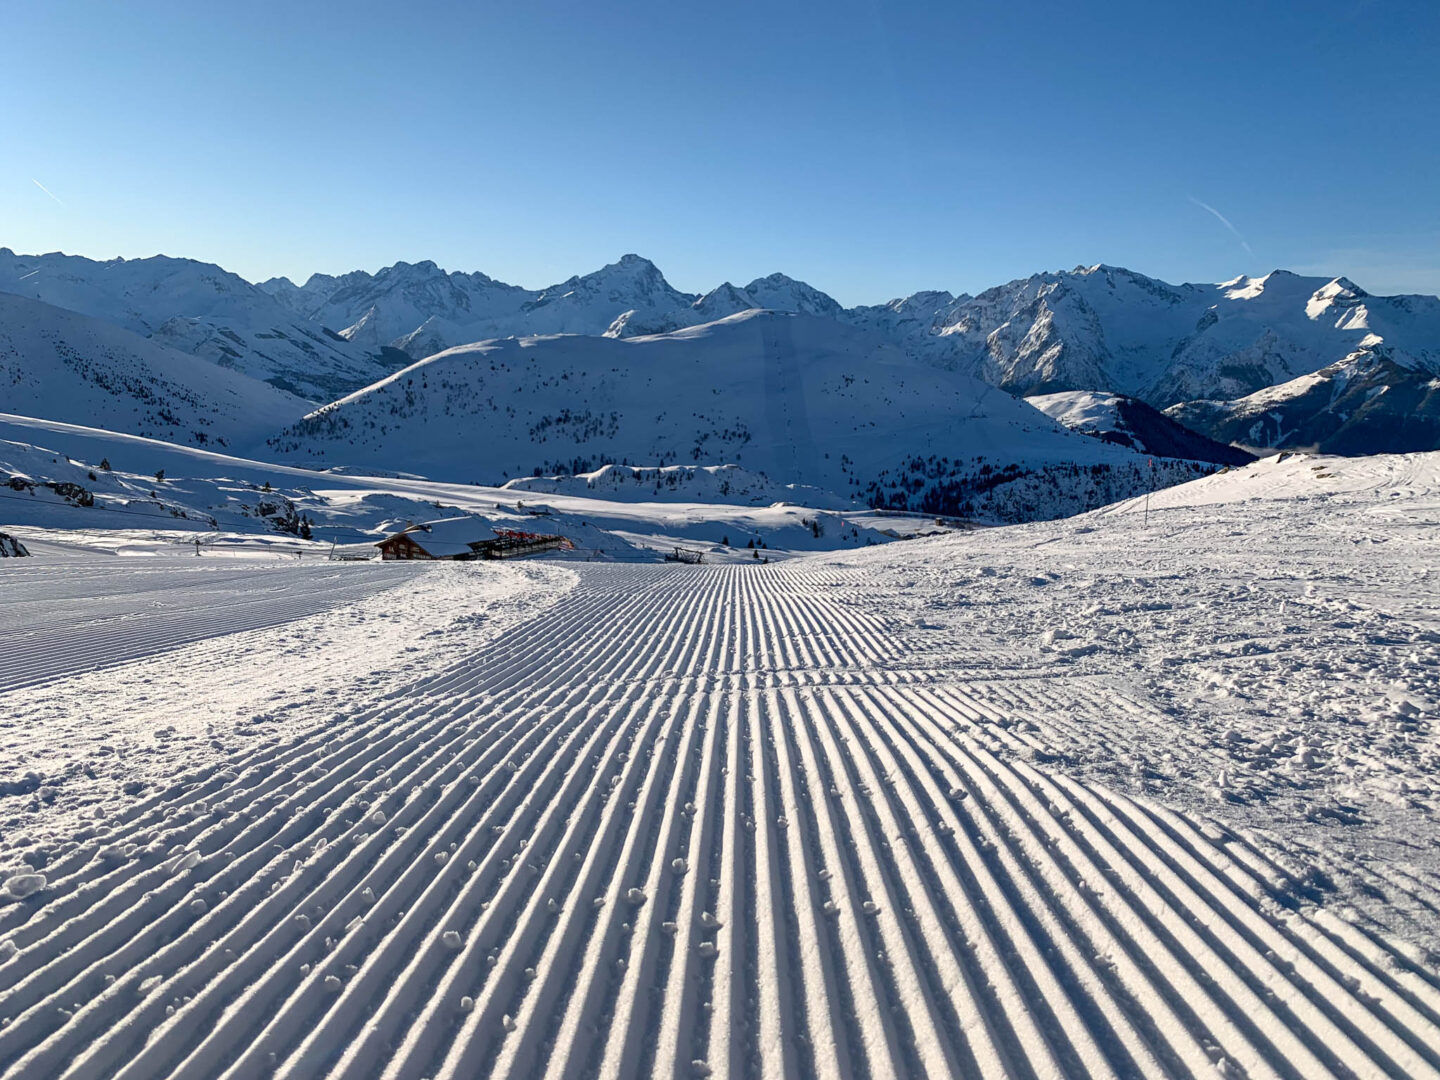
At the end of the day, consideration and respect for the natural elements is one of the many life lessons that you will get while learning how to ski. It is also a big part of what makes us have all these incredible, awe-inspiring, larger than life moments on the mountains and something that city life is lacking. So, pay attention to what Mother Nature is trying to tell you!
D. SEE FOR YOURSELF
Lastly, one of the ways to get a good idea of the difficulty of a run is just… seeing it for yourself. There are a lot of pistes that are fully visible from the base or a plateau in the ski area. In other cases, you can see the majority of a piste while riding in the chairlift. What better way to ensure that you are up to the task than getting a preview?
Naturally, ascertaining the level of difficulty by looking at the slopes is a skill that you will be developing progressively. As you become better at skiing, the better you will be at ‘reading’ the landscape and evaluating its challenges. And that will make you better at skiing! It’s a virtuous circle really. Understanding the slope not only helps picking the right piste for your level and mood, but it also enables navigating the terrain more effortlessly.
As an extra tip, it is worth mentioning that there are two simple ways of developing this skill:
- At the top of the run, stop and pay attention to the topography. Plan your route rather than going down haphazardly.
- At the bottom of the run, look up and notice the steepness and other characteristics of the piste. Try and recognise the parts that felt easy and the ones that were hard. This way, you will exercise your eyes and brain into becoming good judges of the level of difficulty of the slopes.
Soon enough, you will be able to tell whether a piste will be hard for you or not just by looking at it.
LEARNING HOW TO SKI TIPS: No 4. LITTLE THINGS CAN MAKE A BIG DIFFERENCE
The number of things that you can put in the pockets of your ski jacket and trousers is limited and the available space is worth its volume in gold. Make good decisions.
While there are many people who wear backpacks while skiing, I would not recommend this to a beginner, for the following reasons:
- A backpack, especially a heavily loaded one, can alter your posture, and posture matters a lot in skiing.
- During your first few lessons, getting on and off a chairlift will require coordination and timing. Managing a backpack will not help with that.
- Part of learning how to ski is… falling. It’s also part of the fun (most of the times)! Falling on a backpack might not bode well for your back or your belongings.
So, everything you need for the day needs to fit in your pockets.
MUST HAVES FOR WHEN YOU ARE ON THE SLOPES (EXCLUD. SKI GEAR)
The below items are, in my opinion, essentials to carry around while skiing (for both men and women), a ski day EDC, if you like:
- Money / Cards – Use a skinny wallet, if at all.
- Ski pass – Most ski jackets have a dedicated spot for that.
- Phone – Battery life is severely affected in cold conditions; place it into one of your inner pockets and use low battery mode.
- Piste / trail map – The paper version makes planning a route with other people easier and saves on phone battery. Also, it makes you feel like Indiana Jones! Downloading in pdf form or having an app is also a must.
- Lip balm.
- SPF in stick form.
- Hanky / tissue – Runny nose seems to be a recurring thing in the mountains.
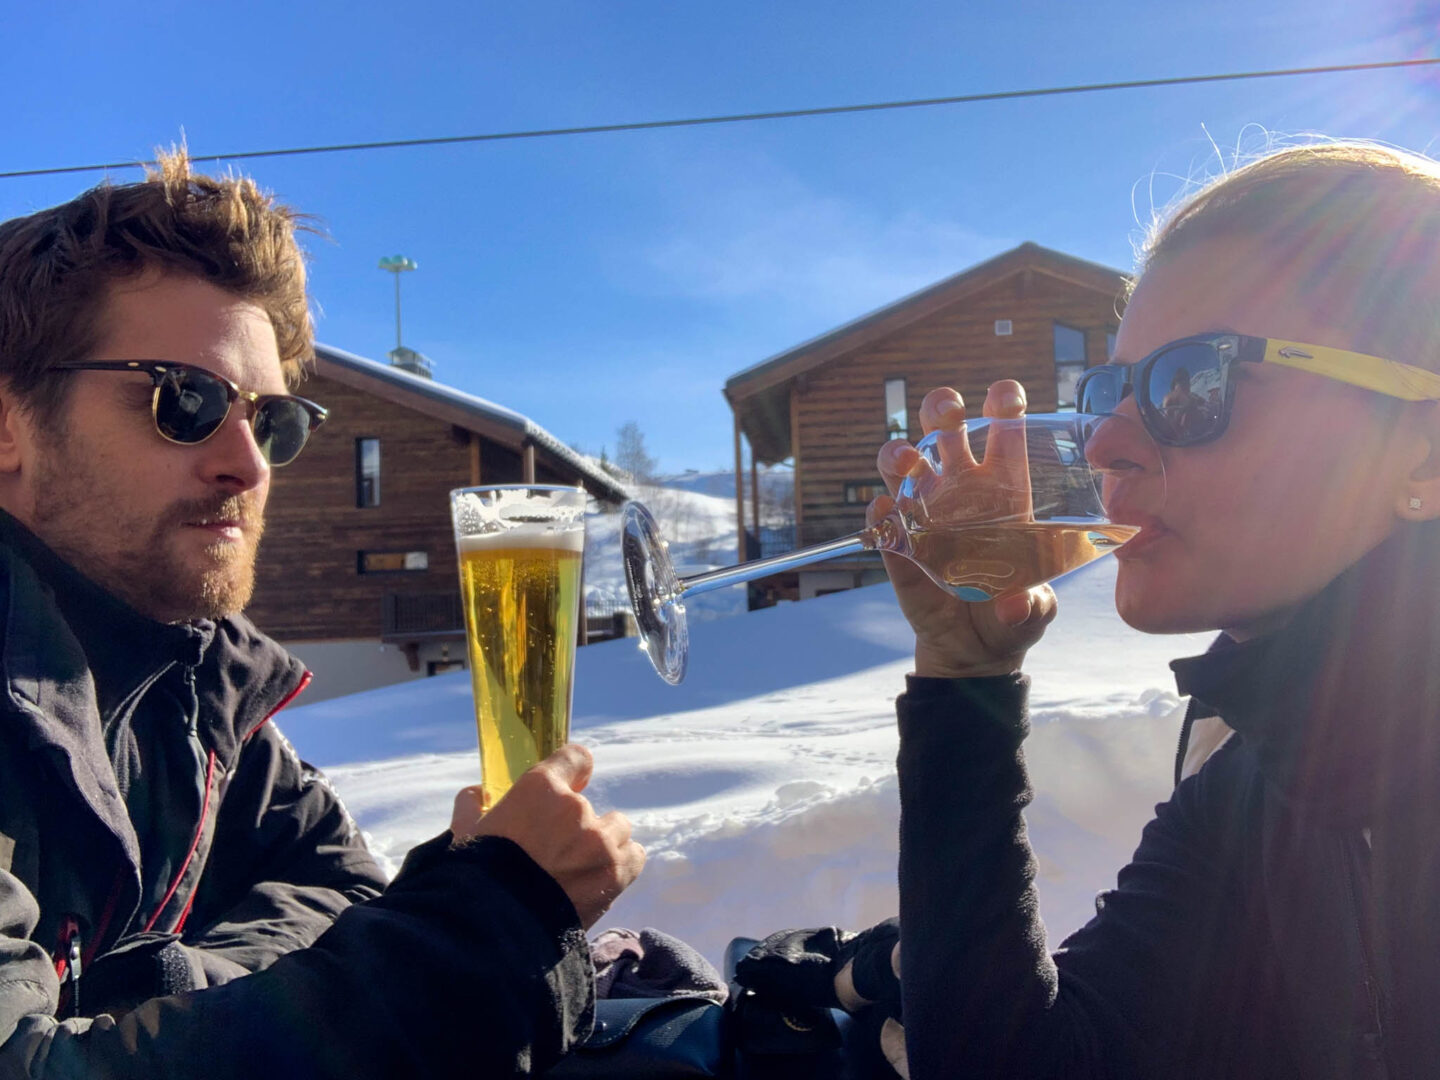
- Sunglasses & ear warmer headband (unless you can fit it under your helmet) – Al fresco lunches are some of the best parts of skiing; a perfect combination of frosty weather and sunny skies. I bet you don’t want to be enjoying them with your goggles and helmet on?
Personally, the only thing I find missing from this curation of items is a reusable bottle of water, so make sure to take breaks often and hydrate!
EAGER TO LEARN MORE ABOUT CHOOSING YOUR SKI WEAR, EQUIPMENT & SKI GEAR?
Check out these blog posts:
The ultimate ski packing list & tips
The ultimate après ski packing tips, must-haves & extras
Why you should buy your own ski boots & how to get the best fit
How to wear ski boots pain free: Tips for all day comfort
How to buy ski wear & not regret it: 3 tips for a lasting ski wardrobe
LEARNING HOW TO SKI TIPS: No 5. KNOWING WHEN TO CALL IT A DAY
Similar to other kinds of trips, but even more so when you are learning to ski, your individual needs may differ from those of the rest of the group, especially when everyone else is an experienced skier. Even though some peer pressure can be good, make sure that you get the appropriate time on the slopes, for you. That way, by the end of this ski trip, you will be eager for the next one.
In tip No 1, I discussed how not spending enough time on the slopes will inhibit your progress. Spending too much time on the slopes though can do the same. Life is a balance.
SPENDING TOO MUCH TIME ON THE SLOPES
Trying to acquire and master any new skill or ability can be frustrating and learning how to ski is no different. Also, beginners get tired quicker than experienced skiers due to lack of technique. So, depending on the rest of your party’s preferences and ski ability, it is easy to find yourself spending too much time on the pistes, to the point that you are exhausted.
Furthermore, as I will discuss in tip No 6, it is important to not overexert yourself on the first day or two on the mountains, especially at high altitude resorts, in order to allow your body to acclimatise.
Needless to say, a tired skier is more prone to mistakes and accidents. There is no need for you to feel that you have to spend all day, every day on the slopes trying to keep up with everyone. An afternoon drink by the fire, a morning at the spa or a day doing other snow related activities will do the trick for your tired legs or bruised ego! For your safety and enjoyment, pace yourself and be honest about when it’s time to call it a day.
HOW MUCH TIME SHOULD I SPEND ON THE SLOPES TO LEARN HOW TO SKI?
Well, this is definitely a discussion worth having with your ski instructor. It depends on so many things, from external conditions (such as the weather) to more subjective things like your personal circumstances and physical stamina. As a rule of thumb, the more hours you spend on the slopes practicing, the better, until your body, your excitement levels or the weather tell you otherwise.
LEARNING HOW TO SKI TIPS: No 6. ACCLIMATISING TO HIGH ALTITUDE
If this is your very first ski trip, it is likely that this is your first stay in a high altitude location. Hence you may not have heard of altitude sickness, a serious condition when experienced to its full extend. No need to panic though. Skiing will not take you to the altitudes required for altitude sickness to fully develop. Nevertheless, some of its ‘entry level’ symptoms might creep up on you if you are staying at higher ski resorts and have not acclimatised properly.
CAN ALTITUDE SICKNESS AFFECT SKIERS?
One can get altitude sickness if they travel to high altitude without acclimatising properly. It is mostly relevant for altitudes beyond 2,500m / 8,000 ft. But, how does this threshold compare to the altitude of ski resorts around the world?
When it comes to the altitude of a ski resort, there are two considerations. The altitude of the location where you are spending the night and the altitude of the slopes where you are skiing during the day. The former seems to be more important than the latter, with people living in the mountains advising ‘climb high, sleep low’.
The base or main village of most ski resorts around the world is located well below the above mentioned altitude threshold. However, there are some ski resorts that their base alone reaches or exceeds the 2,500m / 8,000ft mark. The problem is more common when visiting American resorts. Some are much higher than those in Europe, approaching 3,000m / 9,900ft. For reference, the highest ski resort in Europe is Val Thorens in the French Alps; its base is located at an altitude of 2,300m / 7,550ft.
It is definitely worth knowing the altitude of the ski base / village you are (or going to be) as well as how high the resort chairlifts can take you. The higher you go, the more careful you need to be to make sure you acclimatise. Symptoms of altitude sickness begin to show after 5-10h ascending over 2,000m / 6,500ft above sea level and can be compared to that of a hangover (ranging from a light to a severe one). Having trouble sleeping and shortness of breath are also quite common.
HOW TO STAY HEALTHY AT HIGH ALTITUDE
Our bodies take some time to adjust in the difference in pressure and oxygen levels experienced when travelling from sea level (or similar) to high altitudes. Do not overexert yourself on the first day or two of skiing -as a beginner it is really easy to do that! Staying hydrated, avoiding alcohol (see also tip No. 7), eating well and sleeping adequately will help you turn into a mountain goat in no time!
Wishing to learn more on altitude sickness (AKA acute mountain sickness)? I am not a health professional, so check out what the CDC (US) or the NHS (UK) have to say. Some useful information can also be found in the official webpages for high altitude ski resorts Aspen Snowmass, Colorado (US) and Brekenridge, Colorado (US).
LEARNING HOW TO SKI TIPS: No 7. EAT WELL & DRINK MODERATELY
This is probably a no-brainer but, here goes. The high altitude (did you read tip No. 6?), cold climate, physical activity and general merriment may lead to overindulging. That is both good and bad.
On the one hand, you will be burning so many calories with skiing, and even more so as a learner, that there is no need for having a salad at lunch. Carb consumption is actually encouraged while skiing; it is supposed to be helping the body acclimatise to high altitude. So, enjoy all the goodies that mountain culture has to offer, guilt-free!
On the other hand, moderation is advised when it comes to drinking. Many ski resorts are the winter equivalent of Ibiza and Mykonos providing numerous incentives to let go and overdo it. And who am I to judge? However, learning how to ski requires concentration and physical effort; a hangover will certainly not help with that…
Further than that, alcohol impedes the body from adjusting to the reduced oxygen levels of high altitudes. So, going easy on the booze is not something only you, my beloved beginner, should aim for, but everyone. Needless to say, with so many parties happening high on the slopes during the day, it is worth making sure that everyone in your group (regardless of skiing capability) is fit to ski down to base; there is no shame in taking the gondola down.
Lastly, it is worth mentioning that the cold will probably make you not drink enough water. That is never a good thing, especially with all the physical activity that you will be doing. So, don’t forget to hydrate!
LEARNING HOW TO SKI TIPS: No 8. STRETCH, STRETCH, STRETCH
After a long day of skiing, the last thing anyone would want to do is more exercise. However, like all forms of training, one needs to warm up and cool down before and after a long day on the slopes.
It makes sense right? We warm up and cool down as part of our exercise routines at the gym, before and after a sports session or yoga class. Why would skiing be any different? If you are not convinced as to the necessity of this, head to the ski school early in the morning and you will see all ski instructors doing light stretches together!
Stretching keeps the muscles strong and healthy and helps us develop the flexibility required to maintain a range of motion in the joints. Without it, muscles become tight and when you call on them for activity, they are weak and unable to extend all the way. That puts you at risk of strains, muscle damage, and joint pain.
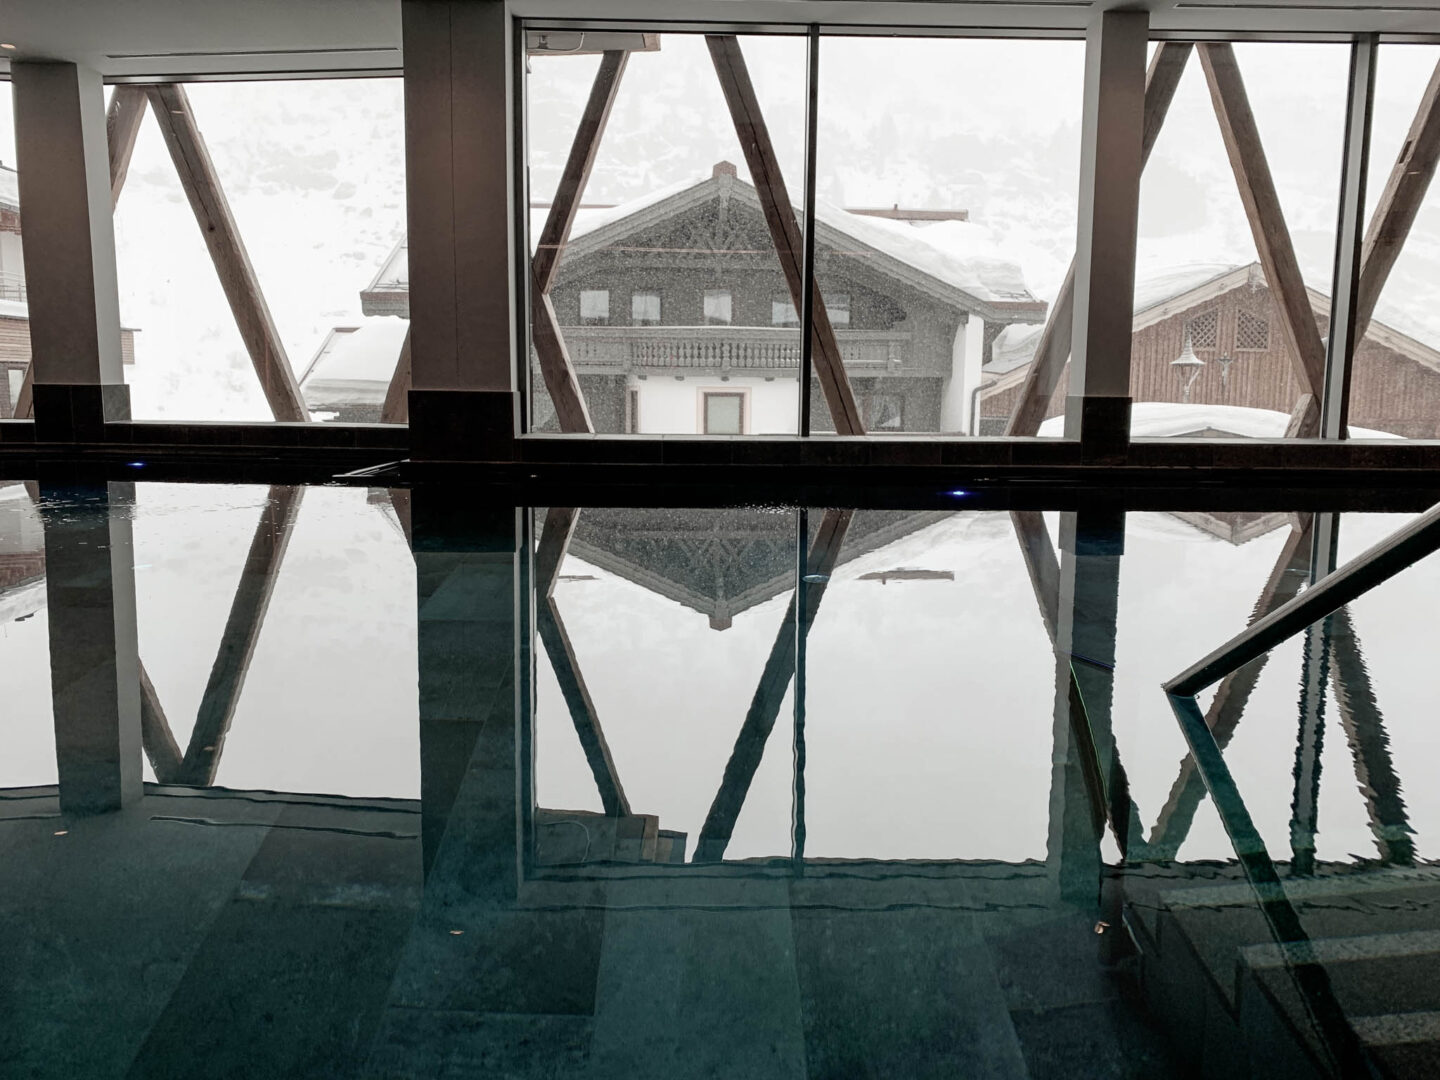
Your warm up and cooling down can be short and sweet. In fact, you can do it in your room, the hotel gym or on the slopes. If you wish to get some ideas, head over to this article by Ski Magazine, this article by Yoga Journal and this article by OM Magazine. Last but not least, swimming in the hotel pool is another great way for active relaxation and relief from sore thighs (that’s why there are so many pools at ski resorts).
LEARNING HOW TO SKI TIPS: No 9. EMBRACE THE LEARNING CURVE
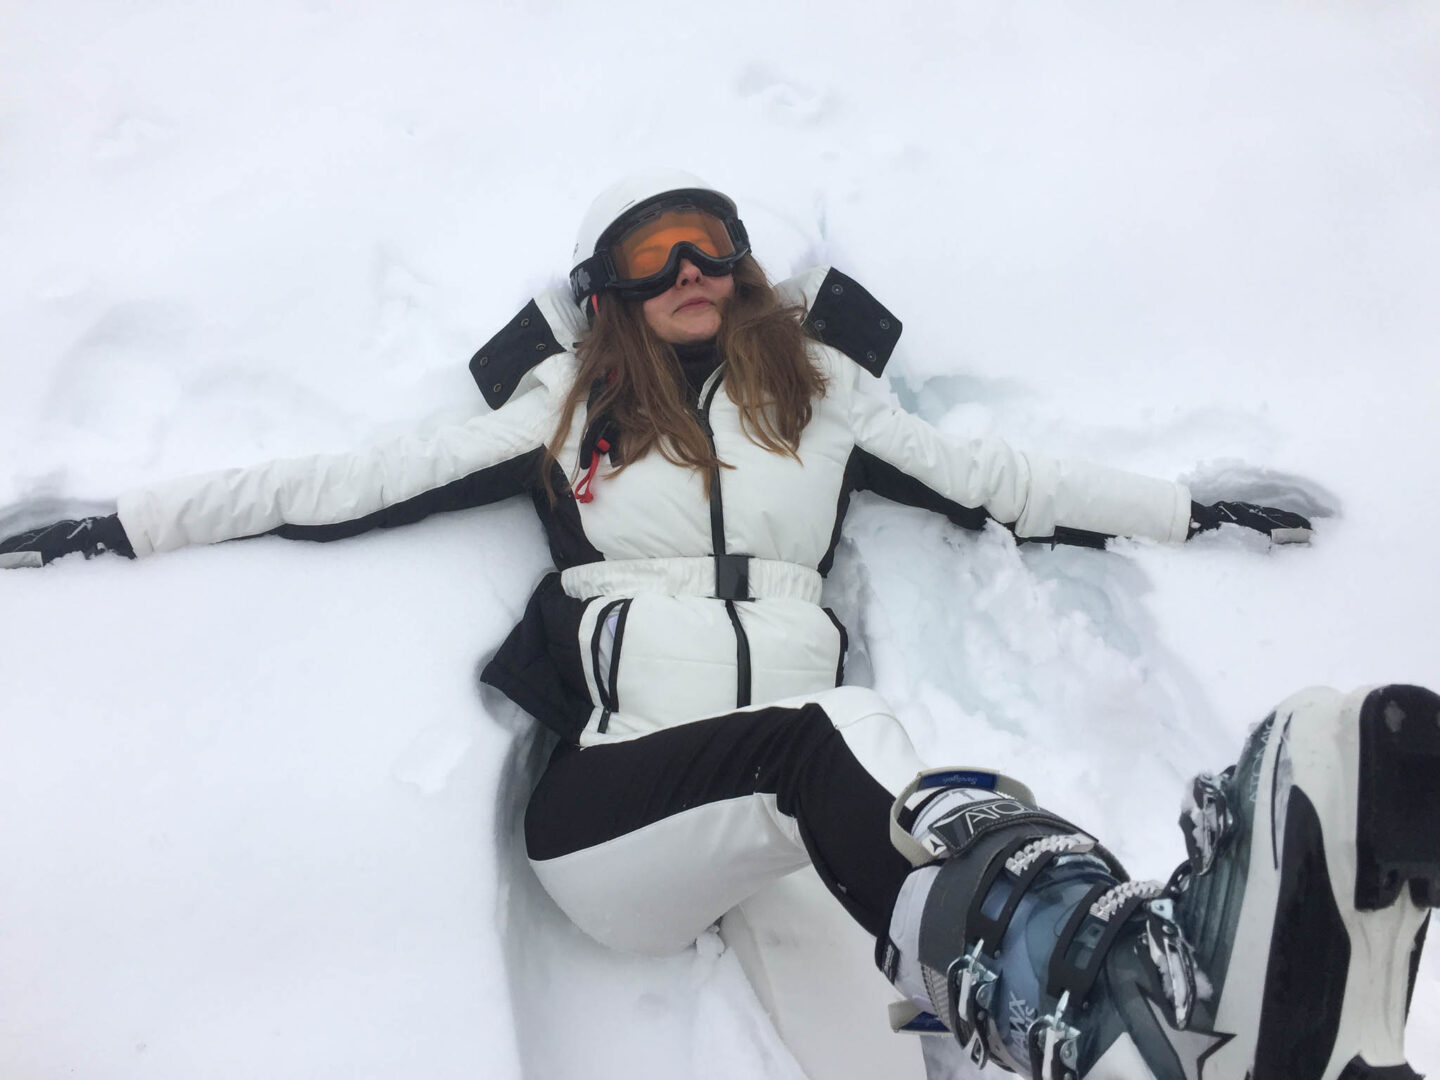
If there is one negative about learning how to ski is the feeling of frustration. Most people experience it at some point. It is totally normal and, happily, short-lived.
Remember the last time you learnt something completely new? Most adults don’t, so sucking at something is foreign and mentally challenging! Assuming that you have lessons from a professional instructor and not your mates, the levels of frustration will mostly depend on how hard you are on yourself.
Furthermore, avoid comparing yourself to other skiers (beginners or not). As with so many things in life, make sure that you become better than what you were yesterday and not what the person next to you is today. People learn and progress at different pace so avoid turning learning to ski into a competition… That is unless you are super competitive and thrive on it! If that’s the case, go for it but, make sure you are not being a jerk to others!
All in all, try not to take yourself too seriously and embrace the learning curve. Provided that you have your lessons and practice a bit, you will see that the feeling of frustration goes away quickly, giving way to feeling proud for the progress that you make and, most importantly, to having fun! Before you know it, you will be going down the mountain showing off to all those who are just starting their beginners’ lessons.
That brings me to my final tip. (Yeah, you made it!)
LEARNING HOW TO SKI TIPS: No 10. ENJOY
This is the experience of lifetime.
Breath in the crisp mountain air, enjoy the magnificent scenery and appreciate the incredible privilege that you have enabled for yourself. As your ski instructor will tell you, smiling every once in a while actively helps with perfecting your skiing technique!
See you on the slopes!
This is not a sponsored post and I am not affiliated with any of the businesses or organisations mentioned.
LET’S TALK ABOUT SKIING
Looking for more posts about skiing? Maybe ski resort reviews? Hit the buttons below!
___